Getting Started: How to Navigate Your Website Dashboard
When you first step into the backend of your website, the dashboard can feel like a cockpit of a spaceship—buttons, menus, and settings everywhere. Don’t worry—you don’t need to be a developer or tech guru to make sense of it. In this beginner-friendly guide, we’ll walk you through getting started and how to navigate your website dashboard with ease and confidence.
Whether you’re using WordPress, Wix, Shopify, or a custom CMS, understanding your dashboard is the key to successfully managing your content, settings, and user experience. Ready to take control of your site? Let’s dive in.
🔑 What Is a Website Dashboard?
A website dashboard is your control center—also known as the admin panel or backend. It’s where you manage everything: content, design, settings, plugins, analytics, and more.
Think of it like the behind-the-scenes area of your site where all the important tasks happen, such as:
-
Creating and editing pages or blog posts
-
Managing users and permissions
-
Customizing your site’s appearance
-
Installing plugins or apps
-
Viewing site performance metrics
Getting familiar with the dashboard is the first step to becoming confident in running your site, whether you’re a solo blogger or managing a business website.
🧭 Step-by-Step Guide: How to Navigate Your Website Dashboard
This general guide will give you the structure found in most popular content management systems (CMS). Let’s walk through it step by step.
Step 1: Logging into the Dashboard
Every CMS will have a secure login screen. Here’s how to access it:
-
WordPress: yourdomain.com/wp-admin
-
Wix or Shopify: Go to the platform’s main site and log in to your account
-
Custom CMS: Typically, your developer or hosting provider will give you the login URL
Once logged in, you’ll land on the dashboard homepage.
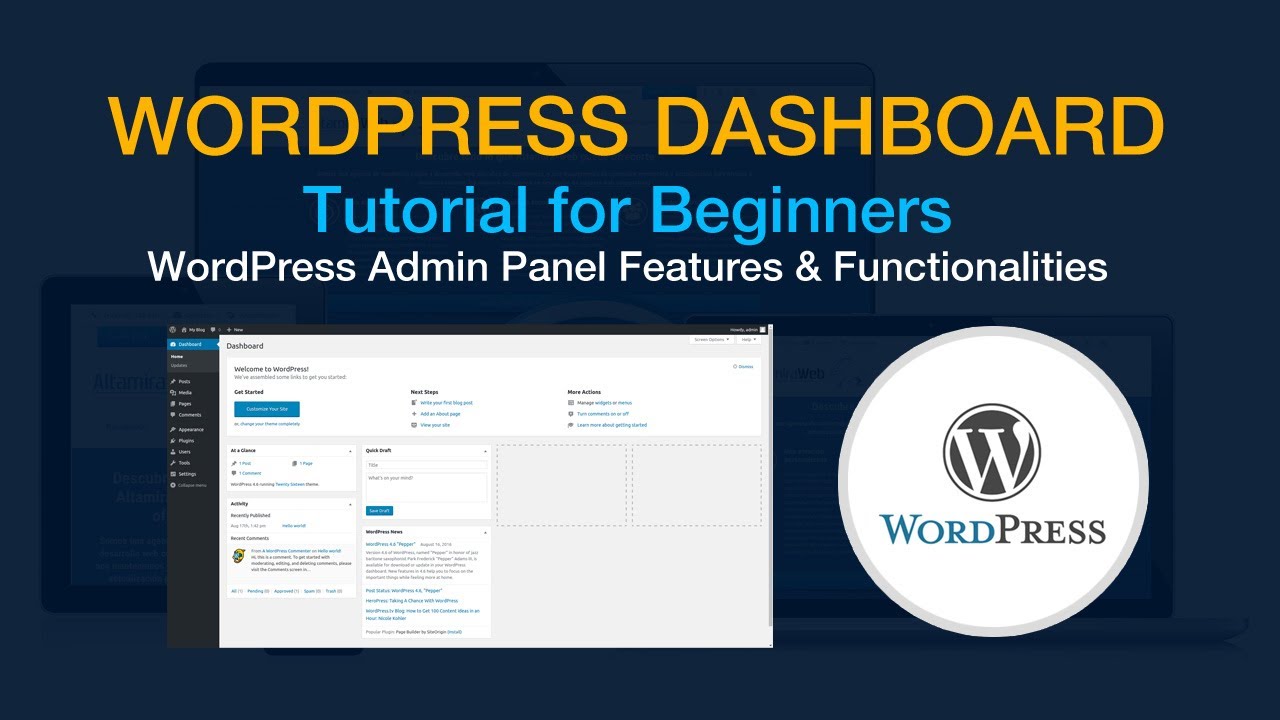
Step 2: Familiarize Yourself with the Dashboard Layout
The layout may vary slightly, but most dashboards include these sections:
✅ Main Navigation Menu
Usually found on the left or top side, this vertical menu helps you access:
-
Pages
-
Posts or products
-
Media (images, videos, documents)
-
Appearance or theme settings
-
Plugins/apps
-
Users or team members
-
Settings
✅ Toolbar/Header
Often at the top of the page, it may include:
-
A link to view your live website
-
Notifications (updates, comments, etc.)
-
Account profile and logout options
✅ Dashboard Widgets or Panels
Your homepage dashboard may display quick stats like:
-
Recent activity or comments
-
Site traffic (if analytics are integrated)
-
Quick draft or “create new” shortcuts
Step 3: Managing Your Website Content
Content is at the heart of your website. Here’s how to find and edit it:
✍️ Pages
-
Go to “Pages” in your menu
-
Click Add New or select an existing page to edit
-
Use the built-in editor to write, insert images, and format
📝 Posts or Blog Entries
-
Go to “Posts” or “Blog”
-
Click Add New to write a new article
-
Assign categories and tags to help organize your content
🖼️ Media Library
-
Upload or manage images, documents, and videos
-
Use the “Add Media” button inside pages/posts
Step 4: Customizing the Look and Feel
Your website’s appearance is controlled through themes or templates.
-
Navigate to Appearance > Themes (WordPress) or Design (Wix/Shopify)
-
Choose a theme or template that fits your brand
-
Customize colors, fonts, and layouts using the theme editor or customizer
Many platforms include drag-and-drop editors like Elementor, Wix Editor, or Shopify’s theme editor, which make visual edits easy.
Step 5: Extending Functionality with Plugins or Apps
Plugins (WordPress) or Apps (Shopify/Wix) add extra features to your website like SEO tools, contact forms, or social media integrations.
-
Go to Plugins > Add New or Apps/Marketplace
-
Search for what you need (e.g., SEO, forms, backups)
-
Click Install and then Activate
Be selective—too many plugins can slow down your site or cause conflicts.
Step 6: Managing Users and Permissions
If you’re not the only one working on your site, you’ll want to manage user access:
-
Navigate to Users > Add New
-
Assign appropriate roles:
-
Admin: Full access
-
Editor: Can edit content
-
Author/Contributor: Can write but with limited control
-
Each CMS has its own role structure—review it carefully to keep your site secure.
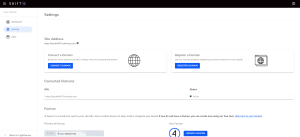
Step 7: Exploring Settings and Site Configurations
Head over to the Settings section to configure:
-
Site Title and Tagline
-
Time zone and language
-
Homepage display (static or latest posts)
-
Permalink structure (important for SEO)
-
Email notifications
Don’t change settings blindly—make sure you understand what each option does.
Step 8: Keeping an Eye on Performance and Security
Look for built-in analytics or connect to tools like Google Analytics or Search Console. Also:
-
Update your themes, plugins, and CMS regularly
-
Set up automatic backups
-
Install a security plugin or enable built-in protections
This ensures your site stays fast, functional, and secure.
❓FAQs About Navigating Your Website Dashboard
1. What if I can’t find a specific setting or option?
Use the search bar in your dashboard (if available) or consult the help section. Each CMS has documentation or support forums where you can find walkthroughs.
2. How do I avoid breaking anything while exploring the dashboard?
Stick to content and theme settings at first. Avoid advanced settings (like permalinks or plugins) until you’re more comfortable—or consult a professional before making changes.
3. Is there a way to preview changes before publishing?
Yes. Most CMS platforms offer a Preview option before publishing a page or post. Use this to make sure everything looks good.
4. How often should I update my dashboard or plugins?
Check for updates weekly. Many issues arise from outdated themes or plugins, which can pose security risks.
5. Can I access my dashboard from my phone or tablet?
Yes! Most platforms are mobile-friendly or offer apps for editing on the go. However, for major changes, it’s best to use a desktop.
🧠 Pro Tips for Dashboard Navigation Success
-
Bookmark your dashboard login page to save time.
-
Practice regularly—click around, test things in draft mode.
-
Back up your site before making big changes.
-
Keep your CMS and plugins up to date to prevent bugs and vulnerabilities.
-
Use keyboard shortcuts if your CMS supports them for faster editing.
✨ Final Thoughts: Your Website Dashboard Doesn’t Have to Be Intimidating
Like any tool, your website dashboard becomes easier the more you use it. At first, it may seem overwhelming, but as you explore it step by step, you’ll start to see how it all fits together.
By following this guide on getting started and how to navigate your website dashboard, you’re well on your way to becoming a confident website owner or manager. With a bit of practice and curiosity, you’ll soon be updating content, improving design, and managing your site like a pro.
Now, go log in—and take the first step toward mastering your website backend!